The 3 Phases of Directional Boring
Directional boring is surging in popularity due to its multiple benefits. This process helps reduce soil disturbance, fractures in rock formations, groundwater contamination and pollution, and ecosystem disturbance. Its affordability makes it a go-to choice, too. Keep reading to learn more about this process.
What This Process Entails
Directional boring is also referred to as horizontal directional drilling (HDD). It’s a minimal-impact and trenchless method used to install underground utilities, from cables to pipes and conduits.
According to Trenchlesspedia, this three-phase process starts by drilling a small pilot hole to outline the predetermined bore path. This hole is then enlarged to suit personal preferences, often to form a larger diameter called a reamer. The final step requires enlarging this hole to accommodate the requisite pipes. These pipes will be pulled through the reamer to form a continuous segment running through the entry and exit. Let’s look at the three phases of this process in more detail below.
1. Pilot Hole
The pilot hole forms the initial stage of directional boring. It entails drilling a hole that goes through, under, or across the obstacle, often following a predetermined design path. A typical pilot hole measures about 9 and 7/8 inches. However, this size can vary with the soil condition and size of the rig.
Drilling fluid is used during this process to lubricate the drill stem. This fluid is fed through the drill pipe down to the drill head. Depending on personal preferences, it could be recycled and re-introduced into the drill system.
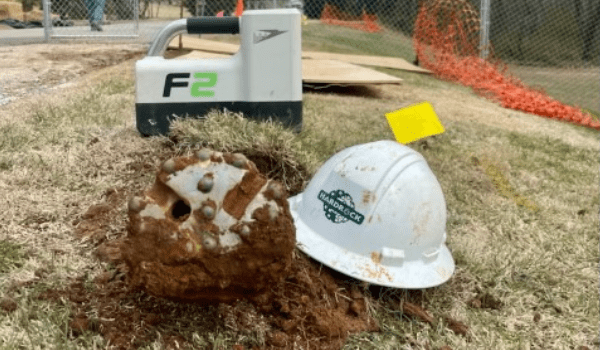
An electric transmitter will be put behind the cutting head to help send signals to the surface. This signal is received by a receiver that communicates back to the drill rig operator. This information helps improve accuracy by steering the bore path in the desired direction. Keep in mind that the pilot hole takes a few days to complete; the duration will often depend on the soil condition and the rig’s power.
2. Reaming
The second phase of directional boring is reaming, which ensures that the drilled hole has a suitable diameter. Sometimes, pre-reaming will suffice to facilitate a smooth reaming process. Here, the expert will slightly enlarge the diameter with the reamer, increasing it with every step.
The reaming process requires the reamer to be placed at the opposite end of the drilled hole, gradually pulling it back through the pilot hole. The slurry will then be introduced into the cavity to help boost its integrity and flush out cuttings.
This reaming process could be done in several steps, depending on the size of the hole. For instance, suppose you need a 42-inch hole. In that case, the reaming process could take between three and five steps, where the ream passes could be 14″, 20″, 34″, and 42″.
All the soil extracted during this process is suspended and brought to the surface for recycling. In addition, a mud pass could also happen during this stage. This step ensures that the hole is clean and all excavated material has been removed. It also minimizes friction in the pull section.
3. Pullback Operation
After enlarging the hole to meet the required preferences, a conduit is pulled through it. In most cases, this pipe will be attached or fabricated to the side opposite the drill rig. Next, a reamer will be attached to the drill string, often by connecting to a head and swivel. This swivel facilitates excellent turning.
The drill string will be pulled while circulating drilling fluids. This step goes on until the reamer comes out of the drilled hole. The idea is to make the hole large enough to accommodate various pipes and conduits.
Once the reamer has been pulled out, conduits and pipes are installed. These horizontal drills are often suitable for fiber optic cables, power lines, and aircraft cables. Pressure testing will also suffice to determine the integrity of the pipes.
Why It’s Worth It
Directional boring offers multiple benefits, including enhanced value for money. This method minimizes soil disturbance, which is central to environmental preservation. You’ll rely on it to protect the ecosystem and its adjacent areas. It also allows you to use a single location to install different pipes.
Besides its unparalleled efficiency, directional boring is much safer than open cut. The ability to drill beyond surface obstructions guarantees better results in the long run. Above all, the weather should not affect its effectiveness.
Directional boring is an invaluable drilling method that offers multiple benefits. Are you considering it? Reach out to Hardrock HDDP today for more insights and a comprehensive quote!


